345 foton på grått gult hus
Sortera efter:
Budget
Sortera efter:Populärt i dag
101 - 120 av 345 foton
Artikel 1 av 3
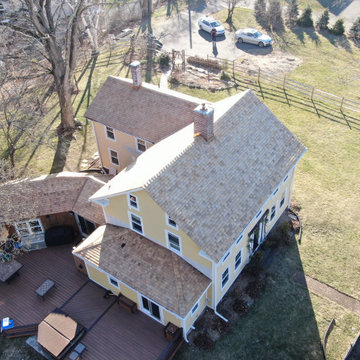
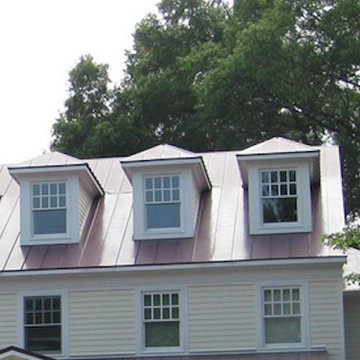
Overhead view of a wood roof replacement on this historic North Branford farmhouse. Built in 1815, this project involved removing three layers of shingles to reveal a shiplap roof deck. We Installed Ice and Water barrier at the edges and ridge and around chimneys (which we also replaced - see that project here on Houzz). We installed 18" Western Red Cedar perfection shingles across all roofing and atop bay windows. All valleys and chimney/vent protrusions were flashed with copper, in keeping with the traditional look of the period.
Ariana Miller with ANM Photography. www.anmphoto.com
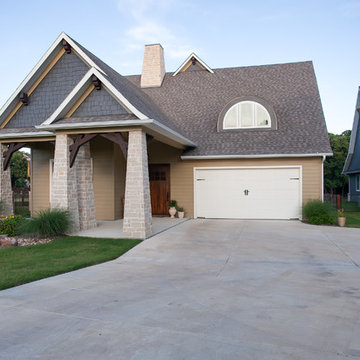
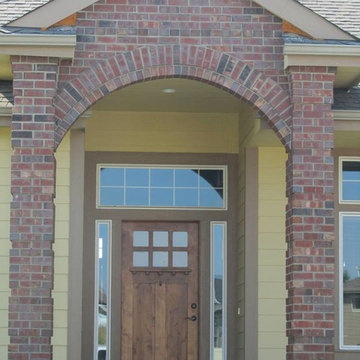
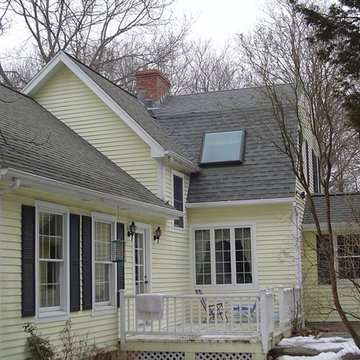
Idéer för att renovera ett mellanstort amerikanskt gult hus, med två våningar, blandad fasad och halvvalmat sadeltak
Idéer för att renovera ett mellanstort amerikanskt gult hus, med två våningar, blandad fasad och halvvalmat sadeltak
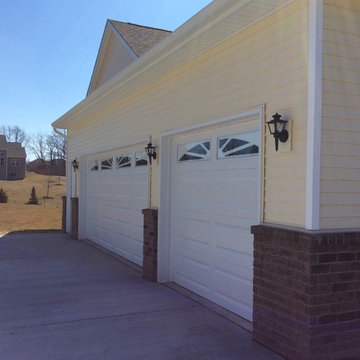
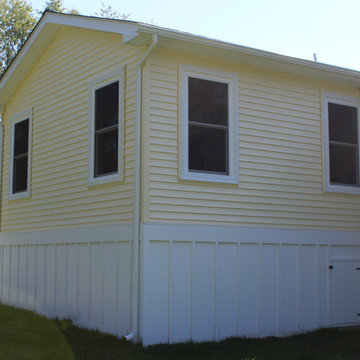
Exempel på ett mellanstort klassiskt gult hus, med två våningar, vinylfasad, sadeltak och tak i shingel
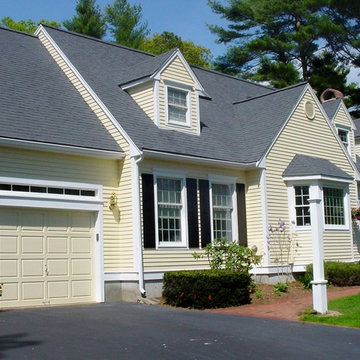
Idéer för ett mellanstort klassiskt gult hus, med två våningar, sadeltak och tak i shingel
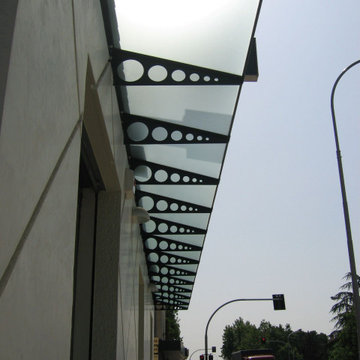
Edificio a destinazione mista a lavoro terminato. Particolare pensilina.
Idéer för ett mellanstort modernt gult flerfamiljshus, med tre eller fler plan, sadeltak och tak med takplattor
Idéer för ett mellanstort modernt gult flerfamiljshus, med tre eller fler plan, sadeltak och tak med takplattor
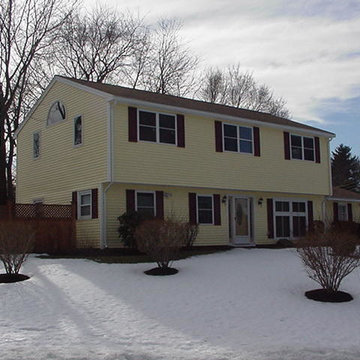
Inspiration för mellanstora maritima gula hus, med två våningar, vinylfasad och sadeltak
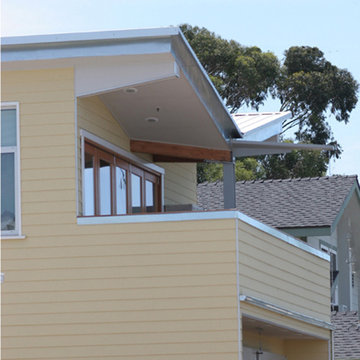
water collection from inverted gable roof goes to a custom scupper from sheet metal, down a chain, and into a long concrete trough filled with water-loving horsetail
Little bungalow, built in 1928, needed a little restoration on the outside. Damaged shiplap siding was replaced with hand-milled redwood siding to replicate the old siding, Window sills, windows; doors and door frames were replace due to termite or dry-rot. The entire house was prepared for paint: sanding, filling in gaps, primered and painted with two coats. Such a wonderful home.
Designing and building a kitchen addition is a complex process that involves multiple steps and considerations. Here is a general outline to help you get started on your kitchen addition project:
Define Your Goals and Budget:
• Determine the purpose of the kitchen addition. Is it for more cooking space, a dining area, or a combination of both?
• Establish a realistic budget for your project. Consider all costs, including construction, permits, materials, and furnishings.
Hire a Design Professional:
• Seek the services of a design build company who specializes in kitchen additions.
• Discuss your vision, needs, and budget with the design professional to create a design concept.
Site Evaluation:
• Assess the existing space and structural condition of your home to ensure it can support the addition.
• Consider factors like zoning regulations, setbacks, and building codes.
Design Development:
• Collaborate with your design professional to refine the concept, including the layout, size, and architectural style.
• Choose materials, finishes, and fixtures that fit your design and budget.
Obtain Permits:
• Consult with your local design build contractor to determine the necessary permits and approvals.
• Prepare and submit all required documents, including architectural drawings and engineering plans.
Create Construction Documents:
• Work with your design build professional to develop detailed construction drawings and specifications.
• These documents will serve as a guide for contractors during construction.
Hire a design build contractor:
• Check references, credentials, and licenses before selecting a contractor.
• Sign a detailed contract that outlines the scope of work, timeline, and payment schedule.
Construction Phase:
• Demolition: If needed, remove any existing structures or walls.
• Foundation: Construct the foundation for the addition.
• Framing: Build the structural framework of the addition.
• Plumbing, Electrical, and HVAC: Install or update utilities as required.
• Insulation: Ensure proper insulation for energy efficiency.
• Drywall and Finish Work: Complete the walls and ceilings.
• Flooring and Cabinetry: Install flooring and kitchen cabinets.
• Appliances and Fixtures: Add appliances, plumbing fixtures, and lighting.
• Paint and Finish: Apply paint and finishes to achieve the desired look.
• Final Inspection: Schedule inspections to ensure compliance with building codes.
Final Inspections and Approvals:
• Arrange for final inspections to ensure the addition meets all safety and code requirements.
• Obtain any necessary certificates of occupancy or compliance.
Move In and Enjoy:
• Once all inspections and approvals are received, you can move into your new kitchen addition and start enjoying it.
Remember that every kitchen addition project is unique, so adapt this outline to your specific needs and circumstances. Consulting with professionals and obtaining the required permits and inspections is crucial to a successful and safe project.
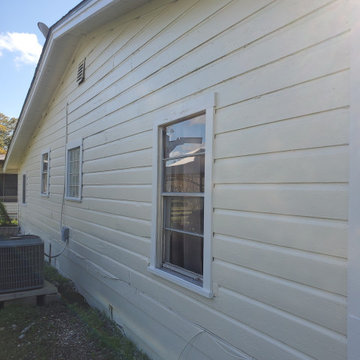
After removing peeling paint in rear of home
Exempel på ett stort gult hus, med allt i ett plan
Exempel på ett stort gult hus, med allt i ett plan
Tammy Cleven
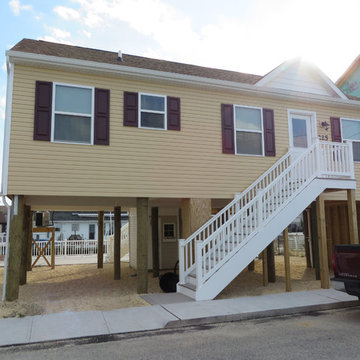
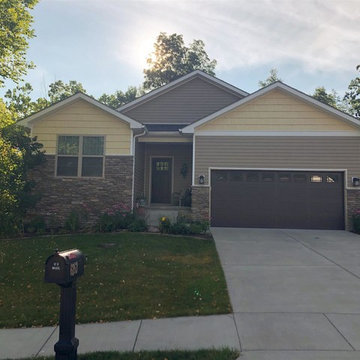
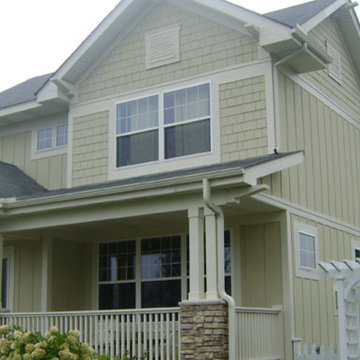
Inspiration för ett mellanstort amerikanskt gult hus, med två våningar, blandad fasad och sadeltak
Inspiration för ett mellanstort amerikanskt gult hus, med två våningar, blandad fasad och sadeltak
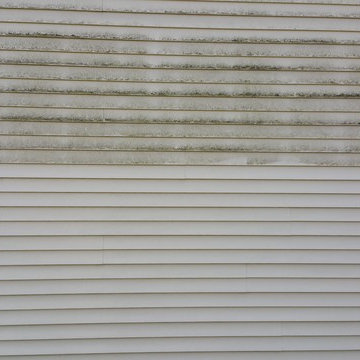
Siding Cleaning Before and After
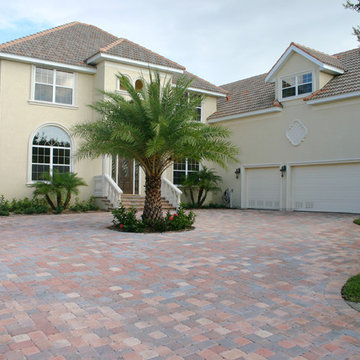
Exempel på ett stort klassiskt gult hus, med tre eller fler plan, vinylfasad, sadeltak och tak i shingel
Exempel på ett stort klassiskt gult hus, med tre eller fler plan, vinylfasad, sadeltak och tak i shingel
345 foton på grått gult hus
6